Here’s How to Easily Get Rid of Popcorn Ceilings

Popcorn ceilings. Two words almost guaranteed to make you cringe. And worse, these ceilings decrease your home’s value with their tired, outdated style. Here, we’ll look at how you can remove them yourself versus the cost of getting a pro to do it for you.
But First, Some History
Popcorn ceilings, also known as acoustic ceilings, became popular in the mid-to-late 20th century. Contractors loved them because they:
- Were fast and easy to install, saving money and time
- Hid ceiling flaws
- Absorbed sound
How to Scrape Away Your Popcorn Ceilings
Getting rid of popcorn ceilings isn’t hard, but it is a lot of work, and it can be time-consuming. The pros estimate 20 hours per 500 square feet, but if you’re new to this game, allow for more.
Test for Asbestos
If your popcorn ceiling was applied before the 1980s, it might contain asbestos. It’s best to get a pro to test for it, but you can also buy a test kit and send it off for testing. And if you choose to DIY, don’t put yourself at risk. Use appropriate safety gear, including eye protection, a ventilator or dust mask, and gloves.
Grab Your Tools
If your ceiling tests positive for asbestos, hire a pro. If it is asbestos-free, you’ll need these tools.
- A clean garden sprayer
- A wide putty knife
- Plastic sheets or drop cloths
- Painter’s tape
- Ladder
- Dust mask
- Safety goggles
Protect Your Stuff
This is a messy job, so before you start, move the furniture and cover the floors with tarps or plastic sheeting. And you’re going to be spraying water indoors, so take the following precautions:
- Tape the tarps or plastic to the walls.
- Take down ceiling fans and light fixtures
- Cover the electrical boxes with painter’s tape
- Turn off your HVAC
- Cover outlets and vents with plastic
- Turn off electricity in the rooms where you’re working
- Open the windows.
Spray the Ceiling
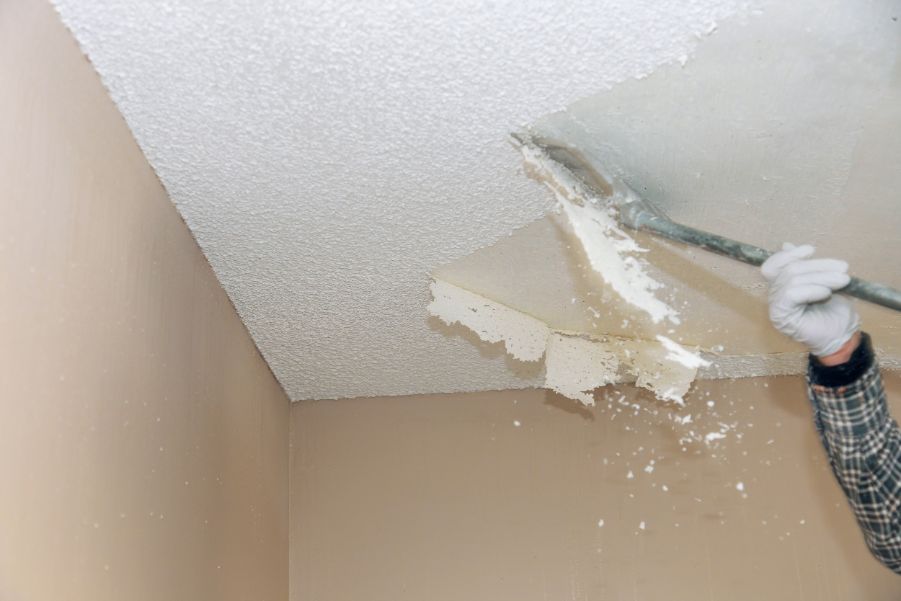
Working in a three-foot area, spray just enough water to dampen the ceiling. Wait 15 minutes after you spray to let the popcorn absorb the water. Then gently run your putty knife over the wet ceiling. Be careful not to gouge. Rinse and repeat if needed.
Refinish the Ceiling
Cover any imperfections with joint compound. Then sand the ceiling to create a smooth surface for painting. Prime and, finally, paint. Once the paint is dry, remove the plastic, re-hang the ceiling fixtures, and move the furniture back into place
So there you have it. Now that you know a little bit more about this old ceiling fad, you can get started on your interior paint project.


